Contact Us

Please feel free to get in touch to ask a question, schedule an appointment or give us your feedback. We look forward to hearing from you. 

17 Divinity St
Bristol, CT, 06010
United States

8605895155

Since 1975, O'Donnell Bros has been providing greater Bristol and Central Connecticut with residential and commercial remodeling solutions. We specialize in roofing, siding, windows, doors, gutters, downspouts and so much more. We look forward to helping you with all your remodeling needs. 

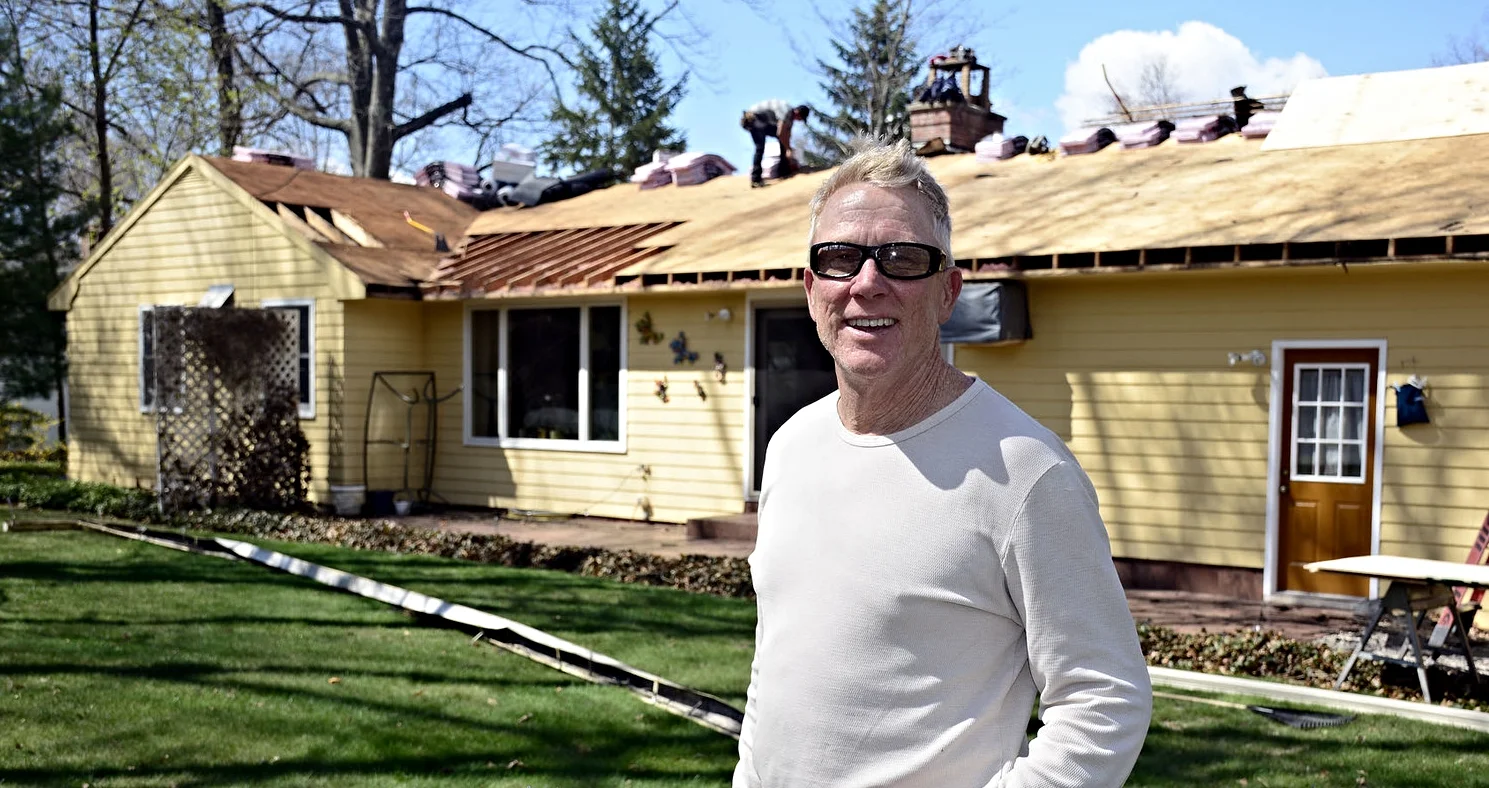
HomeImprovement-PT-050114_9032 (1).jpg

Articles

O'Donnell Bros President, Bob O'Donnell, is a regular contributor to The Bristol Press. Read his home improvement articles here.


Filtering by Category: Roofs

Don't Let a Chimney Leak Ruin Your Roof

Chelsea O'Donnell

Of all the places on a roof to have a leak, the chimney is one of the most common. Because it sits up above the roofline, it’s also the most susceptible to damage from harsh winter weather, wind, and rain. While it might seem like a tough task, waterproofing a chimney is actually a pretty simple project, as long as you’re comfortable on a ladder. Here are my tips to tackle the job. 

To seal your chimney, the first thing you’ll have to do is measure the surface area. Take care to measure all sides and add the measurements together to find the total surface area. This will help you to determine how much material you will need. 

Now, it’s time to clean. Your chimney will most certainly have mold, dirt, rust, and stains on it, and you’ll want to remove them before starting the waterproofing process. I like Chimney RX Safer Brick and Masonry Cleaner which you can use instead of muriatic acid for the same cleaning power without the harsh fumes or risk of burns. Applying the solution is easy, just use one part cleaner with four parts water and apply to the area with a pump sprayer. You can then either scrub the surface or use a power washer to remove the debris. Let everything dry for at least 24 hours before moving on to the third step. 

Next, you can start to prepare the area for any potential repair work. You don't want to damage your roof and shingles when waterproofing your chimney, so use a canvas drop cloth to cover the area as plastic can get very slippery. Make sure to cover over any windows or skylights that are in reach as well. Once waterproofing overspray has been applied, it will be incredibly difficult to remove. 

If you have minor cracks in the chimney, now is the time to fill them. Chimney RX makes a Masonry Crack and Joint Sealant that works really well on small cracks up to one-eighth of an inch. It simply paints on and then dries a milky white color. However, if you have larger cracks or if you need any part of the chimney rebuilt or tuckpointed, I highly suggest calling a professional to manage the repair.

Once minor work has been completed, you’re ready to apply the waterproofing agent. Again, ChimneyRX makes a Water Repellent that’s great for the job. No matter what you use, be careful. Most people don’t realize that there is a difference between water repellent and sealant. A sealant will form a hard surface, trapping water inside and making the area susceptible to leaks, whereas a repellent will still enable the porous bricks to breathe and move the way they are supposed to. 

Applying the sealant is as easy as the cleaning step - all you’ll need is a pump sprayer with a fan nozzle. The product that you use will give instructions for the amount that you’ll need, so just go by your surface area and the directions provided. I always suggest starting from the base and working your way up, applying heavy coats using a side to side spraying motion. Unlike painting, it’s a good idea to apply a “flood coat” first and then top it up with a second coat within just a few minutes to even it out. For areas that feel oversaturated, have a soft bristle brush handy. Also, be sure you’re working in good weather - while waterproofing products do dry quickly, you’ll want to give them a good six hours in the sun to fully set before a bout of bad weather. 

Finally, just like any job on a roof, please make sure you’re comfortable with heights and working from a ladder before you tackle this project. The last thing anyone wants is a trip to the emergency room from a nasty fall.

Bob O'Donnell is the owner of O'Donnell Bros, Inc., a Bristol-based home improvement company established in 1975. Email your questions for Bob to info@odonnellbros.com with the subject line “Ask the Pro”. All questions may be considered for publication. To contact Bob for your remodeling needs, call O'Donnell Bros, Inc. at (860) 589-5155 or visit www.odonnellbros.com. Advice is for guidance only.

Be Aware of Ice Dams After a Major Winter Storm

Chelsea O'Donnell

With our first official storm in the books, now is a perfect time to talk about how dangerous winter weather can be for your house. We all know that major snowfall, freezing rain, and sleet make for icy conditions on sidewalks and in your driveway, but what about on your roof? Sure, icicles might look pretty, the ice dams creating them can result in major leaks in your attic, ceiling, and interior walls.

An ice dam forms when heavy snow blankets the roof, forming an extra layer of insulation. As warm air rises from your house and up through your attic, it causes the layer of snow closest to the roof to melt and the water to slide down into the gutters. This would normally be a good thing, but because so many homes in our area aren’t properly insulated, what often happens is that the melting water hits the cold eaves of the roof, freezing again instead of draining off through the gutters. This forms an ice blockage. As that ice grows and grows, the water has nowhere to go so it starts to move under your roof shingles and eventually into your insulation and drywall. This is when you’ll start to see the leaks in your ceiling and walls.

The best way to avoid this problem is by taking preventative measures. I get calls from homeowners to remove ice dams after every winter storm, and for many, it is too late and they are already facing thousands of dollars worth of damage. But if you’re lucky enough to catch an ice dam before it fully forms, it’s a smart idea to get rid of it as quickly as possible.

Firstly, when you’re clearing snow from your driveway and sidewalks, think about your roof too. Removing snow from the house is the best way to protect your home against ice melting and refreezing in the gutters and up the roof. If you already have an ice dam forming, you can use a hammer and chisel to get rid of it, but be very careful as roof shingles are more delicate and brittle in cold conditions. One safe home remedy is to fill a pair of pantyhose with ice melt and lay it across the ice dam so the water will melt into the gutter. If you’re not comfortable on a ladder, call a professional to help you get rid of the ice dam quickly and safely.

These, of course, are just stop-gap measures. The only way to prevent ice dams from forming permanently is to have your home properly insulated and ventilated. More than 75% of homes in our area are under-insulated which causes the heat from your home to shoot right through the roof. Having appropriate insulation and ventilation will keep your home free from ice dams and will keep you much more comfortable in both the winter and the summer. You’ll feel the difference immediately, and you’ll see the benefit in your energy bills too. 

To all of my readers, may you have a wonderful Christmas and holiday season. I look forward to seeing you in the New Year.

Bob O'Donnell is the owner of O'Donnell Bros, Inc., a Bristol-based home improvement company established in 1975. Email your questions for Bob to info@odonnellbros.com with the subject line “Ask the Pro”. All questions may be considered for publication. To contact Bob for your remodeling needs, call O'Donnell Bros, Inc. at (860) 589-5155 or visit www.odonnellbros.com. Advice is for guidance only.

Decorate Safely This Holiday Season

Chelsea O'Donnell

Now is the time of year when we begin to get into the holiday spirit. From trimming the tree to decorating the house, adornments of any kind are a sure fire way to feel festive, even in this current COVID environment. But for all the fun, holiday decorating should be taken seriously to ensure that no one gets injured and you’re not at risk for a potential fire. Here are some things to consider. 

Ladder Safety

When hanging lights and decorations outside of your home, be sure to use a safe ladder that sits on level ground and can hold your weight properly. Always have someone with you to act as a spotter and don’t ever attempt to hang décor that’s out of your reach.

Circuit Breaker

If you’re going for the Griswold effect, make sure you read the labels on your lights to ensure you have the right wattage levels and that they are certified for outdoor use. The last thing you want to do is overload your circuits and end up in the dark or with a nasty shock. Inspect older lights for bad bulbs and stripped wires, and replace problem strands with new ones. I recommend LED lights, which run cooler, are more energy efficient and will have less of an impact on your power bill. Make sure all your lights are plugged into ground-fault circuit interrupters (GFCIs), which can be found at the local hardware store.

Avoid Siding Damage

When hanging heavy décor such as wreaths, do not drill holes into your vinyl siding. Once the wreaths have been removed, the holes will enable water to get underneath the material, causing potential mold, mildew, and leaks. Instead, purchase some heavy-duty siding hooks, which can be found at any home goods store this time of year. They will be able to withstand the weight of your decorations without damaging your home.

Roof Caution

If you’re putting Santa and his sleigh to top of your roof, make sure to secure him and any other inflatables tightly to withstand any wind and bad weather. Also, use the opportunity to inspect your roof for any missing or damaged shingles. Finally, take a look at your gutters to make sure they are free from debris and ready for the winter. Roof and gutter wear can cause leaks during the snow season, so it’s better to get them repaired now before it’s too late.

One Last Tip

Speaking of preparing for the snow, here’s one last tip. Grab some reflecting stakes from the hardware store and place them along the perimeter of your yard where it meets the road and your driveway. These place markers will help snow plowers see where your lawn begins and can help them navigate their snow removal without tearing up your grass.  

Do you have another holiday safety tip to share? Send it to me on Facebook. Enjoy the weekend!

Bob O’Donnell is the owner of O’Donnell Bros. Inc., a Bristol-based home improvement company established in 1975. Email your questions to info@odonnellbros.com with the subject line “Ask the Pro.” All questions may be considered for publication. To contact Bob for your remodeling needs, call O’Donnell Bros. Inc. at (860) 589-5155 or visit http://www.odonnellbros.com. Advice is for guidance only.