Contact Us

Please feel free to get in touch to ask a question, schedule an appointment or give us your feedback. We look forward to hearing from you. 

17 Divinity St
Bristol, CT, 06010
United States

8605895155

Since 1975, O'Donnell Bros has been providing greater Bristol and Central Connecticut with residential and commercial remodeling solutions. We specialize in roofing, siding, windows, doors, gutters, downspouts and so much more. We look forward to helping you with all your remodeling needs. 

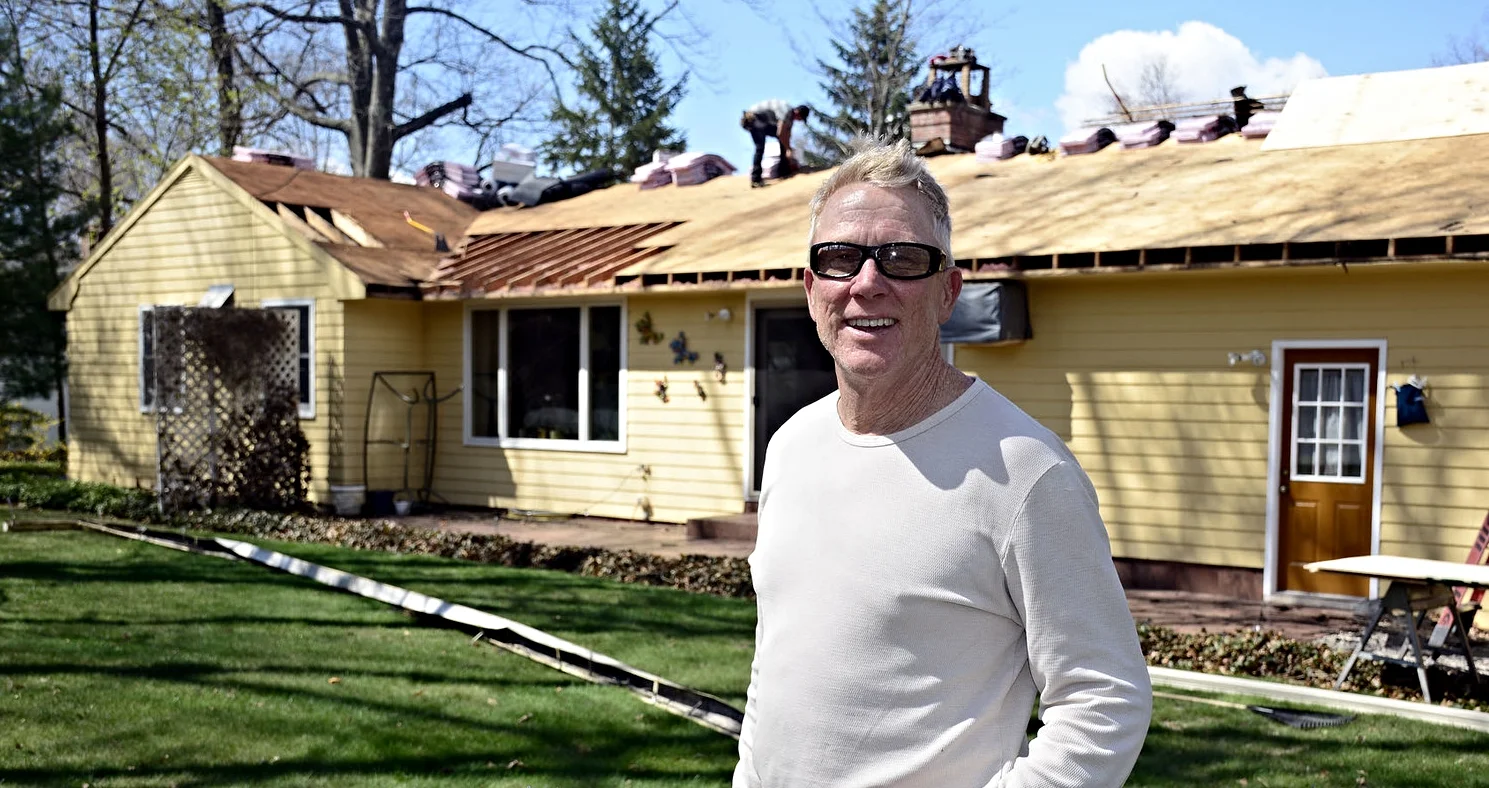
HomeImprovement-PT-050114_9032 (1).jpg

Articles

O'Donnell Bros President, Bob O'Donnell, is a regular contributor to The Bristol Press. Read his home improvement articles here.


Filtering by Tag: brick

Waterproof Your Chimney for a Leak-Free Winter

Chelsea O'Donnell

You may have never thought about exterior chimney maintenance unless you’ve had a problem, but because chimneys come up above the roofline, they are more susceptible to harsh weather than any other part of your home. That’s why spending a little time and money to waterproof and protect the area can save you thousands of dollars and plenty of potential headaches down the road. 

If you plan on waterproofing your chimney, the first thing you’ll have to do is measure the surface area. Take care to measure all sides and add the measurements together to find the total surface area. This will help you to determine how much material you will need. 

Now, it’s time to clean. Your chimney will most certainly have mold, dirt, rust, and stains on it, and you’ll want to remove them before starting the waterproofing process. I like Chimney RX Safer Brick and Masonry Cleaner which you can use instead of muriatic acid for the same cleaning power without the harsh fumes or risk of burns. Applying the solution is easy: just use one part cleaner with four parts water and apply to the area with a pump sprayer. You can then either scrub the surface or use a power washer to remove the debris. Let everything dry for at least 24 hours before moving on to the next step. 

Next, you can start to prepare the area for any potential repair work. You don't want to damage your roof and shingles when waterproofing your chimney, so use a canvas drop cloth to cover the area as plastic can get very slippery. Make sure to cover over any windows or skylights that are in reach as well. Once waterproofing overspray has been applied, it will be incredibly difficult to remove. 

If you have minor cracks in the chimney, now is the time to fill them. Chimney RX makes a Masonry Crack and Joint Sealant that works really well on small cracks up to one-eighth of an inch. It simply paints on and then dries a milky white color. However, if you have larger cracks or if you need any part of the chimney rebuilt or tuckpointed, I highly suggest calling a professional to manage the repair. 

Once minor work has been completed, you’re ready to apply the waterproofing agent. Again, ChimneyRX makes a great product for the job. No matter what you use, be careful. Most people don’t realize that there is a difference between water repellent and sealant. A sealant will form a hard surface, trapping water inside and making the area susceptible to leaks, whereas a repellent will still enable the porous bricks to breathe and move the way they are supposed to. 

Applying the sealant is as easy as the cleaning step - all you’ll need is a pump sprayer with a fan nozzle. The product that you use will give instructions for the amount that you’ll need, so just go by your surface area and the directions provided. I always suggest starting from the base and working your way up, applying heavy coats using a side to side spraying motion. Unlike painting, it’s a good idea to apply a “flood coat” first and then top it up with a second coat within just a few minutes to even it out. For areas that feel oversaturated, have a soft bristle brush handy. Also, be sure you’re working in good weather - while waterproofing products do dry quickly, you’ll want to give them a good six hours in the sun to fully set before a bout of bad weather. 

Finally, just like any job on a roof, please make sure you’re comfortable with heights and working from a ladder before you tackle this project. The last thing we want is a trip to the emergency room from a nasty fall. When in doubt, always hire a pro to tackle the job.

Bob O'Donnell is the owner of O'Donnell Bros, Inc., a Bristol-based home improvement company established in 1975. Email your questions for Bob to info@odonnellbros.com with the subject line “Ask the Pro”. All questions may be considered for publication. To contact Bob for your remodeling needs, call O'Donnell Bros, Inc. at (860) 589-5155 or visit www.odonnellbros.com. Advice is for guidance only.
A New Driveway To Give Your Home Major Curb Appeal

Chelsea O'Donnell

While it’s obvious that a driveway is a convenient place to park your car, it also offers considerable curb appeal and can increase the resale value of a home if a potential sale is in your near future. Of course, when choosing driveway material, there are many to consider and what works for one house might not work so well for another. So let’s go through the pros and cons of the four most popular options to help you make the best decision for your home.

Asphalt

This is the most popular driveway material and for good reason - it’s practical and easy to install. An average asphalt driveway can typically be laid in a day and if properly maintained, they can last for up to 30 years or more. An asphalt driveway is also a safe bet with our cold winters and hot summers as they can stand up to severe temperature changes. Sounds pretty good right? I think so, but there are a few drawbacks to be aware of. For starters, asphalt only comes in one color - black. So if you’re looking for something special to match the aesthetic of your home, you aren’t going to find it here. Another thing to consider is that asphalt does crack and crumble with age, but problem areas can be resealed so you don’t need to replace the whole driveway with every blemish.

Gravel

For people looking for a driveway solution on a budget, gravel might be the way to go. While they aren’t as popular as they once were, gravel is great for very long or intricately shaped paths. On the flip side, using loose stones can get very sloppy and you’ll likely find yourself regularly going out to get new materials to replace what’s been lost from both the weather and everyday use. Gravel is also tough to plow and shovel, so take that into consideration if your driveway gets a lot of snow.

Pavers

No one can deny the beauty of a brick or stone driveway. Homeowners love them for an upscale look that can mimic the style of the property while still offering a strong and reliable material that will last for decades. Of course, with beautiful pavers also comes high product and labor costs as each piece will have to be laid by hand. Take this into consideration when you’re thinking about which material to use as paver installation will likely have your driveway out of commission for a lot longer than some of the other options.

Concrete

If you’d like a driveway with some individuality but don’t want to fork over the cash for pavers, concrete might be your best bet. Concrete is poured quite easily so the installation is relatively fast, although you’ll need to wait a week to drive on it. There are also many options to stamp or dye the material to create a unique look, including mimicking the design of pavers. While concrete is still more expensive than asphalt, it also lasts a really long time - 30 years or more. The downside? Concrete can be susceptible to cracking and can be pricier to fix.

No matter what type of driveway material you decide on, the end result will only be as good as what’s underneath the material. A qualified professional will discuss elevation, drainage, and environmental factors to help you make the best choice for your home.

Bob O’Donnell is the owner of O’Donnell Bros. Inc., a Bristol-based home improvement company established in 1975. Email your questions for Bob to info@odonnellbros.com with the subject line “Ask the Pro.” All questions may be considered for publication. To contact Bob for your remodeling needs, call O’Donnell Bros. Inc. at (860) 589-5155 or visit www.odonnellbros.com. Advice is for guidance only.


Waterproof Your Chimney Now to Avoid Costly Repairs Later

Chelsea O'Donnell

You may have never thought about exterior chimney maintenance unless you’ve had a problem, but because chimneys come up above the roof line, they are more susceptible to harsh weather than any other part of your home. That’s why spending a little time and money to waterproof and protect the area can save you thousands of dollars and plenty of potential headaches down the road.

If you plan on waterproofing your chimney, the first thing you’ll have to do is measure the surface area. Take care to measure all sides and add the measurements together to find the total surface area. This will help you to determine how much material you will need.

Now, it’s time to clean. Your chimney will most certainly have mold, dirt, rust, and stains on it, and you’ll want to remove them before starting the waterproofing process. I like Chimney RX Safer Brick and Masonry Cleaner which you can use instead of muriatic acid for the same cleaning power without the harsh fumes or risk of burns. Applying the solution is easy: just use one part cleaner with four parts water and apply to the area with a pump sprayer. You can then either scrub the surface or use a power washer to remove the debris. Let everything dry for at least 24 hours before moving on to the next step.

Next, you can start to prepare the area for any potential repair work. You don't want to damage your roof and shingles when waterproofing your chimney, so use a canvas drop cloth to cover the area as plastic can get very slippery. Make sure to cover over any windows or skylights that are in reach as well. Once waterproofing overspray has been applied, it will be incredibly difficult to remove.

If you have minor cracks in the chimney, now is the time to fill them. Chimney RX makes a Masonry Crack and Joint Sealant that works really well on small cracks up to one-eighth of an inch. It simply paints on and then dries a milky white color. However, if you have larger cracks or if you need any part of the chimney rebuilt or tuckpointed, I highly suggest calling a professional to manage the repair.

Once minor work has been completed, you’re ready to apply the waterproofing agent. Again, ChimneyRX makes a great product for the job. No matter what you use, be careful. Most people don’t realize that there is a difference between water repellent and sealant. A sealant will form a hard surface, trapping water inside and making the area susceptible to leaks, whereas a repellent will still enable the porous bricks to breathe and move the way they are supposed to.

Applying the sealant is as easy as the cleaning step - all you’ll need is a pump sprayer with a fan nozzle. The product that you use will give instructions for the amount that you’ll need, so just go by your surface area and the directions provided. I always suggest starting from the base and working your way up, applying heavy coats using a side to side spraying motion. Unlike painting, it’s a good idea to apply a “flood coat” first and then top it up with a second coat within just a few minutes to even it out. For areas that feel oversaturated, have a soft bristle brush handy. Also, be sure you’re working in good weather - while waterproofing products do dry quickly, you’ll want to give them a good six hours in the sun to fully set before a bout of bad weather.

Finally, just like any job on a roof, please make sure you’re comfortable with heights and working from a ladder before you tackle this project. The last thing we want us a trip to the emergency room from a nasty fall. When in doubt, always hire a pro to tackle the job.

Bob O'Donnell is the owner of O'Donnell Bros, Inc., a Bristol-based home improvement company established in 1975. Email your questions for Bob to info@odonnellbros.com with the subject line “Ask the Pro”. All questions may be considered for publication. To contact Bob for your remodeling needs, call O'Donnell Bros, Inc. at (860) 589-5155 or visit www.odonnellbros.com. Advice is for guidance only.