Contact Us

Please feel free to get in touch to ask a question, schedule an appointment or give us your feedback. We look forward to hearing from you. 

17 Divinity St
Bristol, CT, 06010
United States

8605895155

Since 1975, O'Donnell Bros has been providing greater Bristol and Central Connecticut with residential and commercial remodeling solutions. We specialize in roofing, siding, windows, doors, gutters, downspouts and so much more. We look forward to helping you with all your remodeling needs. 

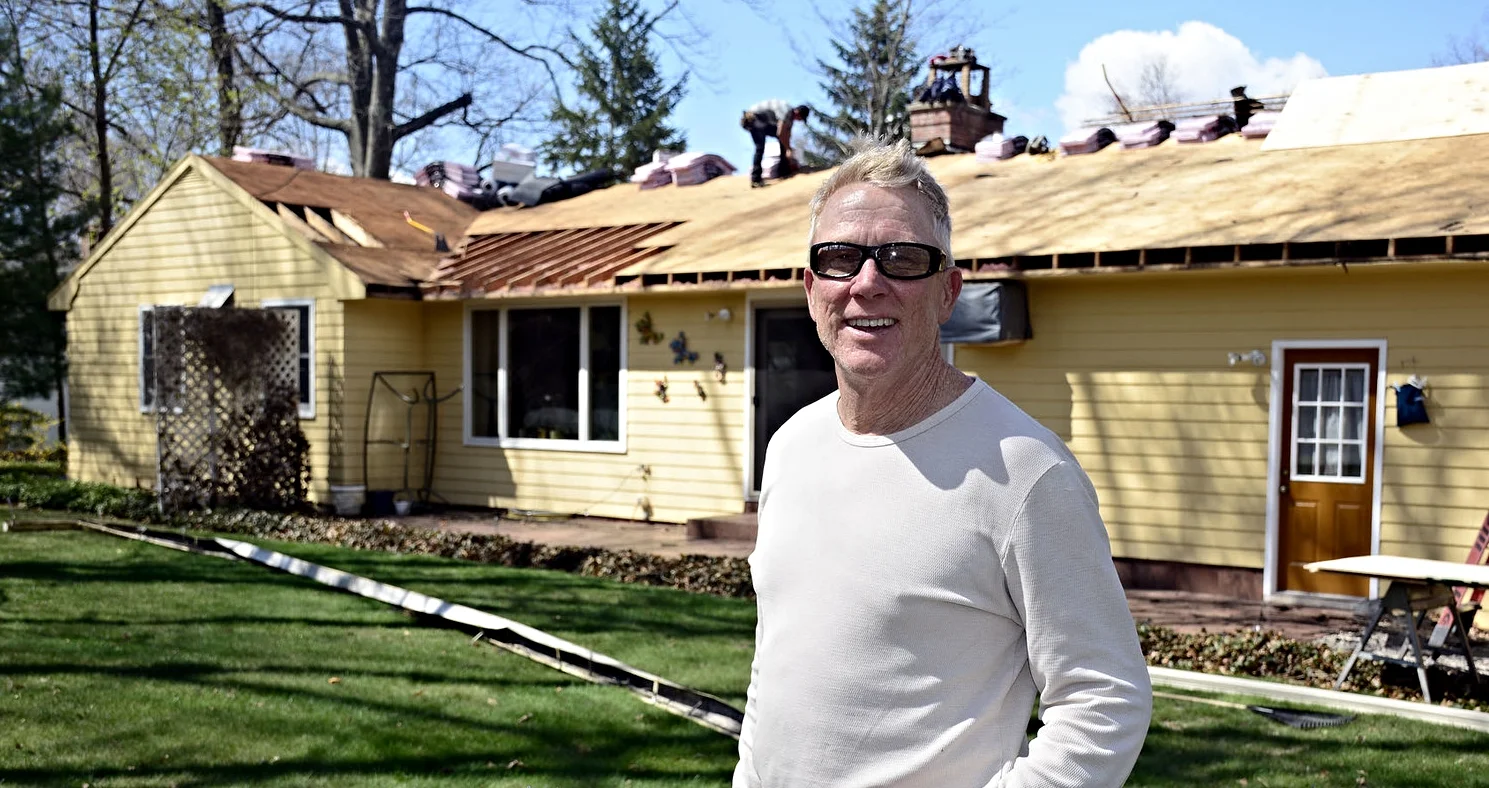
HomeImprovement-PT-050114_9032 (1).jpg

Articles

O'Donnell Bros President, Bob O'Donnell, is a regular contributor to The Bristol Press. Read his home improvement articles here.


Filtering by Tag: homeowners

Chimney Inspections – it’s a dirty job, but someone has to do it

Chelsea O'Donnell

With the last snowfall for the season behind us (fingers crossed), you probably won’t be lighting any warming fires for the next eight months. But before you start celebrating, consider performing a routine maintenance check on your fireplace, chimney and flue to ensure it’s in tip-top shape for next winter. It’s a dirty job, but fireplaces and chimneys are involved in 42 percent of all home-heating fires, so a preventative annual inspection should definitely be on your spring-cleaning list.

First, if you have a regular wood-burning fireplace, remove all the old ashes with a shovel and bucket and get rid of any residual materials with an industrial vacuum or heavy-duty hand broom and dustpan. It’s important to note that during winter you never want ashes to accumulate to more than two inches in depth.  Also, remember that ashes are just disintegrated wood, so feel free to discard them into your compost pile.  Once the ashes are cleared, you can remove any soot and fire stains with a spray bottle of soapy water and a tough, wire scrub brush. If stains are really stuck on there, a muriatic acid solution will do the job, which is available at most hardware stores.

Once your fireplace is squeaky clean, it’s time to inspect the flue. Look up the fireplace, inspecting for any cracks or damage. You’ll also want to keep an eye out for creosote build-up, which can be highly flammable and result in chimney fires if not removed properly. If you see any blockage, cracks or deposits during a visual inspection, you’ll want to get the flue looked at by a professional.

Now comes the hardest part – the chimney. Firstly, make sure that you are comfortable on a roof and using a ladder. If you aren’t, leave this part of the job to an expert. Look around your chimney and remove any leaves or debris that may have piled up over the winter. If your chimney is open and you don’t use it often, it can be a great nesting place for birds and small animals.  Don’t let this happen; invest in a wire screen cover to ensure nothing from the outside can get in. Also, take a look at the mortar between the bricks to make sure it is in good condition and nothing is cracking or crumbling. If mortar needs to be replaced, remove the damaged segments and re-pack them with weather resistant ready-mixed mortar from the hardware store.

You’ll also want to inspect your flashing, which is where the chimney meets the roof. This should create a watertight seal, so make sure nothing looks loose or like it’s coming undone, otherwise you could be at risk for a leak. If the seal is at all damaged or wearing away, you’ll want to get it repaired immediately.

I can’t reinforce enough that chimney maintenance is a must, and something that shouldn’t be brushed off. If you don’t know what to look for or aren’t comfortable taking on the job, get a certified chimney sweep to give you a thorough inspection. The peace of mind in knowing that your home is safe from preventable fire hazard is worth the price of a simple assessment.
The Five Remodeling Jobs with the Worst Returns on Investment

Chelsea O'Donnell

 It’s the first week of March and as spring fever starts to creep into many people’s minds, so too does remodeling projects. Spring is also known as real estate season, which means that many homeowners are looking for small improvements they can make on their properties to increase their home’s sale price.

Back in January, Remodeling magazine put out their annual Cost versus Value Report, where they compared the average cost for 30 remodeling projects with the value those projects retained at resale. When the report came out, I covered the project with the top resale value, which was added to the list for the first time and shot to the top with a 162.2% return on investment. That project was adding fiberglass insulation to your attic and I wasn’t surprised by the result. Adding insulation to your attic is easy, cost effective and will save you in heating and cooling bills for years to come. Plus with 75% of homes in our area deprived by under-insulation, it’s an investment that can make a home stand apart from the resale competition.

So we know what the best investment is, but what about the worst? The five projects with the lowest resale value in Hartford County might surprise you!

Number five is a family room addition. With an average cost of $96,298 in Hartford County, a family room addition offers an average resale value of under $48,000, making the cost recouped a mere 49.6%. 

Number four is a backup power generator. Many homeowners think these will come in handy, and often times they do, especially with our wild weather. But with a cost average of $13,337 and a resale value of $6,458, you’ll only end up getting back 48.4% of the money you put into it.

Bathroom facelifts are always popular on the list of remodeling for resale projects but don’t expect to make your money back on this one. With an average spend of $19,384 and a resale value of $9,318, that job will get you back just over 48% of the cost.

Well, what about the basement? A man cave or rec room might sound like a good idea, but it will only get you back 45% of your investment, according to the report. This is based on a spend of $75,063, which equates to a resale value of $33,750. Yikes!

So if these popular remodels occupy spots five through two, what could possibly be number one? Believe it or not, the worst return on investment would be the coveted extra bathroom, netting home sellers only 43.6% of the average $45,904 put into it. It’s a big job too!

With spring, and real estate season on the way, it’s a good idea to know what fix-it jobs will offer your home real value, especially if you’re in the market to sell. You can view the Remodeling Cost versus Value Report in its entirety by visiting remodeling.hw.net and filtering the report by region.

Get rid of ice dams once and for all

Chelsea O'Donnell

Last week we talked about ice dams, the pesky water build-ups that freeze in your gutters and leave a massive frozen dam that can wreak havoc on your house. As temperatures below freezing become a more regular occurrence for us Connecticutians, it’s a good idea to understand how you can prevent ice dams, and how to safely remove them as a temporary measure.

Ice dams generally form on the outside of homes that aren’t properly insulated and ventilated. The snow and ice on the roof begins to melt, and it slides down the pitch before refreezing into what eventually becomes a nasty layer of ice build-up. Because the water doesn’t have anywhere else to go, it can start to seep into your walls, causing costly leaks inside the home.

So how do you stop this from happening? Firstly, take advantage of a free insulation inspection offered by a local expert. A remodeler can check your attic to see if you have sufficient insulation and ventilation. Over 75 per cent of homes I visit don’t have proper insulation, which will not only allow ice dams to form, it will also let that brutal winter wind come right into your house. Luckily, insulation is an easy and cost-effective solution, which pays for itself in both energy efficiency and resale value. 

A quicker fix is to use heated cables, which you can buy at your local hardware store. By installing these cables on the base of your roof, you will level out the temperature, allowing the snow to melt and the water to drain off the roof and through your gutters like it’s supposed to. Of course, the cables must be installed before the snow hits, when your roof is dry. A 200-foot cable will run you about $150.

These solutions are both very effective, but what if you have an ice dam now? Firstly, be very careful about hacking at the ice with a shovel or pitchfork, as you’ll very likely damage your roof or gutters, and possibly injure yourself in the process. If you have a leak in your attic, start by using a fan to blow cold air at it, which will equalize the temperature and temporarily stop the water from getting in. Then start to pull any excess snow off the exterior of the roof with a shingle safe roof rake. Once the roof is clear of snow, you can use calcium chlorate ice melter to begin tackling the dam. If you have some old, long socks or a pair of pantyhose, you can fill them with ice melter to keep it in place, rather than allowing it to run off the roof with the melting ice.  Keep an eye out for ice melters that are specific to roofs, so you can be sure the chemicals won’t damage your shingles. Do not use rock salt! 

Remember, this is only a temporary fix and won’t prevent future ice dams from forming.  Also, ice dam removal can be dangerous work, so only attempt it if you are very comfortable working on a ladder. If not, contact a professional for help.