Contact Us

Please feel free to get in touch to ask a question, schedule an appointment or give us your feedback. We look forward to hearing from you. 

17 Divinity St
Bristol, CT, 06010
United States

8605895155

Since 1975, O'Donnell Bros has been providing greater Bristol and Central Connecticut with residential and commercial remodeling solutions. We specialize in roofing, siding, windows, doors, gutters, downspouts and so much more. We look forward to helping you with all your remodeling needs. 

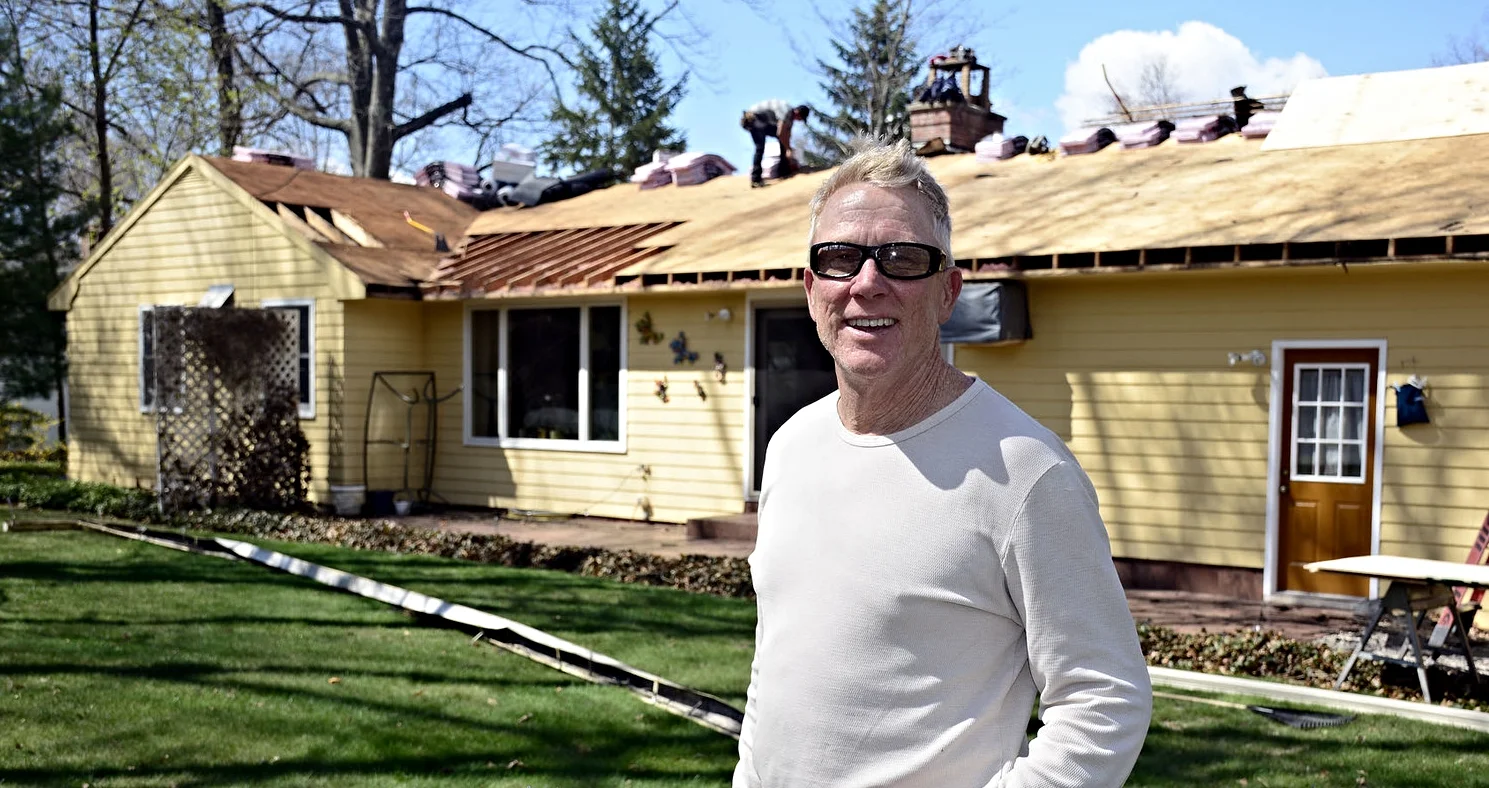
HomeImprovement-PT-050114_9032 (1).jpg

Articles

O'Donnell Bros President, Bob O'Donnell, is a regular contributor to The Bristol Press. Read his home improvement articles here.


Filtering by Category: General Remodeling

Keeping Cool as the Temperature Rises

Chelsea O'Donnell

The summer heat came out of nowhere this year, which left many people with nothing to do but crank up the air conditioning. Sure, a little A/C is a great way to provide fast relief, but keeping it blowing all summer long can do a number on your energy bill and your home. This week I thought I’d put together a few simple tips to help you keep cool, but first, here is a story that might make you rethink your current set up.

A few years ago, I was called to a house in Bristol for a leak repair. When I got to the home, I found that the entire ceiling had fallen onto the dining room table. We hadn’t had rain for weeks, so I was confused how the leak occurred. It turns out that the home had no insulation, and to combat the stifling heat seeping into the house from the attic, the homeowner had two window air conditioning units set on full blast all day. The cold air from the units and the hot air from the attic created condensation at such a high level that it completely deteriorated the plaster, causing the ceiling to fall in.

Having little or no insulation and ventilation in the attic will heat up your home like there’s no tomorrow. Most people think insulation and ventilation are only important in the winter, but they work as regulators, controlling warm air in summer and cold air in winter. Did you know that an attic can easily get up to 150 degrees on a hot summer day? Stand on a chair and put your hand as close to the ceiling as possible. If you feel heat radiating down, you might want to think about getting an inspection.

For a quick fix, one of my favorite tricks is installing an insulated box over the attic stairs. The hatchway between the house and the attic can be a gateway for hot air to get into the main home area, but a simple box frame made from insulated material will seal the gap and help the home stay cooler during these warmer months.

Another quick and easy tip is to purchase a programmable thermostat from the local hardware store. These typically cost around $30 and will allow you to set the temperature according to the times you’re at home. Sure, you may want the house to be 75 degrees before 9am and after 5pm, but during the day when no one is home, keeping the temperature higher will keep your energy bill lower.

Speaking of air conditioning, make sure your units are clean. I know so many people who store their air conditioners in the basement over the winter, where mold can grow and spread inside the filters. This, of course, circulates those spores right into the air you breathe.  Make sure to give all air conditioners a good clean before putting them in, and check and clean the filters and vents regularly to maintain good air flow.  

Use sunblockers or keep the shades drawn when the sun hits your house during certain times of the day. Alternatively, open windows and use fans when the sun goes down and the temperature gets cooler.  

Summer barbecuing is one of my favorite ways to cook, but not just for the taste. Using the oven and stove in the summer can heat up the house substantially, so we tend to cook as much of our meat and veggies in the smoker and on the grill as possible. Also, try to run major electrical appliances, such as dishwashers and clothes dryers at nighttime.  

What’s your favorite tip for keeping cool in the summer? Send me a message on Facebook at www.facebook.com/odonnellbros.
Build that Privacy Fence in a Few Easy Steps

Chelsea O'Donnell

Constructing a privacy fence to border your yard might be high on the “want” list, but with questions around permits, tools, materials, and the physical build, it might be one of those projects that you prefer to put off until next summer.

Last week we talked about some of the rules and regulations around building a fence in our area, as well as the materials you’ll need, and some simple tips to help ease the process. This week, we’ll talk about what you’ll need to do to get that fence up and protecting your yard.

Fences aren’t just your typical wood slats anymore; nowadays they are often constructed in six to eight foot long panels, which can be made from wood, vinyl, steel, or other materials. The panels make a fence much easier to install with a few tools, some precision, and patience.

Once you decide on the type of fence you want and the size of the panels, you’ll start by measuring the area that the fence will border. Draw the fence line with spray paint and then measure the line using a measuring wheel to get the exact length. You’ll also want to mark and measure your gates according to their size. Remember to subtract the gate widths from the total length of the area, as these spaces will not require panels.  

Once you have the area measured and marked, you can determine where your posts should go. One post will need to be installed every six to eight feet, dependent on the length of your panel. Your posts are your anchors so be diligent about this measurement or before you know it, that new fence will come crashing down. You can use chalk lines as a guide, but make sure the post’s position is consistent all around the area.  

Once your posts are marked, you can begin to dig. You’ll need a post hole digger for this part of the project and you’ll want to ensure your holes are at least three times as wide and half as deep. I always suggest digging below the frost line since our winters can get pretty brutal. Once your holes are dug, you can add about six inches of gravel to the hole to ensure proper drainage, followed by around six inches of mixed concrete. Set your post into the hole and level the concrete around it, sloping the mixture slightly away from the post. Now make sure to let it dry according to the time specified on the packaging. Do not install your panels until the concrete has properly cured, which can take up to a few days.  

Once your concrete is set, you can attach the panels using deck screws or nails. The type of fence material you’re using will depend on the best fastener – nails are good for wood while deck screws are a better option of metal or vinyl panels. Either way, make sure your fasteners are long enough to secure the panels tightly. A two or three-inch nail or screw should do the trick, depending on the thickness of your panel. 

Finally, you can attach your gates. Also, if you have them, you can add caps to the fence posts by using a rubber mallet to ensure they fit snugly on top.

There you have it, a brand new fence to keep your family secure and keep out prying eyes. Now go pour yourself a tall glass of lemonade and relax the rest of the afternoon away. I won’t tell! Happy Memorial Day weekend everyone.

Enjoy a Summer of Solitude with a Privacy Fence

Chelsea O'Donnell

With summer creeping up on us, I’m sure you’re looking forward to spending time swimming in the pool, enjoying a barbecue with the family, and relaxing on weekend afternoons in the privacy of our own backyard. With all of these activities to look forward to, now might be a great time to make your outdoor domain a bit more intimate with the installation of a privacy fence.

Building a fence might seem like a tough task, but with a little bit of pre-planning and some help, it can be a fairly easy project to tackle. So let’s get to it.

The first thing you’ll need to do is apply for a permit, which can be done at Bristol City Hall. You can find everything you need to know on the City of Bristol website under the Building Department tab. There are specific height regulations that you’ll need to be aware of as well as rules for where your fence can be installed in relation to your property borders. Materials and colors are also enforced; so make sure you review the documentation before you start your project. If your fence doesn’t follow city code, you’ll be forced to take it down and you could get fined.  

Once your permit has been issued, it’s time to start planning and getting your materials in order. I suggest starting by ensuring that your new fence will deliver the privacy you’re after. Cut a cardboard or thin wood screen to the height of your future fence and get a friend or family member to help you assess the fence’s privacy potential in both sitting and standing positions. Because fence heights are regulated, you want to make sure yours gives you the result you’re after without breaking any building codes. If the fence doesn’t do the job, you might want to look at bushes or other landscaping solutions.

Once you’ve confirmed that your fence height offers the privacy you desire you can begin to take your measurements and gather your materials. Be sure to clearly mark the border where the fence will eventually stand using stakes and string, and don’t forget to review the city placement codes before driving in your posts. Also, be aware of any shallow pipes or wires that could be damaged as you begin to dig. 

There are a few things to consider when you’re getting your materials, including style, size and durability. Generally, fence panels come in six or eight-foot lengths, and you’ll want to ensure that you’re installing them in a way that will maximize their durability. The number of vertical posts you’ll need is pretty simple, as it will depend on the length of the panels and the size of the area you’re looking to border. However, you have some choices in terms of the horizontal rails you’ll need to support the fence. For some people, two 2x4’s will do the trick, but if your fence is in a place that’s more susceptible to our sometimes brutal weather conditions, installing three horizontal rails will help to stabilize the structure and decrease the potential for future sagging or wind damage.

Finally, you’ll need to think about your gates. I always like to have two gates, which are required to open inward on the property. Have a good think about what the gates will be used for when you choose their placement and width. Gates that need to allow lawn equipment and machinery to pass through will need to be wider than those that just let people in and out of the area.

With your fence materials chosen, you’re almost ready to build! Next week I’ll share some of my top tips on how to install your fence with ease. Stay tuned.

Image courtesy of Bullard Fence